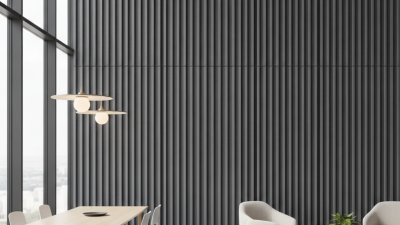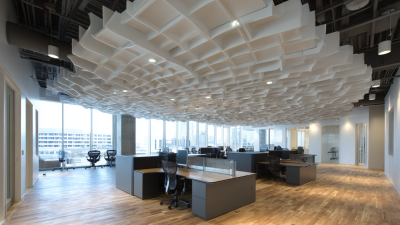

Top Curved Acoustic Panels for Soundproofing?

Choosing the right Curved Acoustic Panels begins with understanding what they can, and cannot, do. They reduce reflections, flutter echo, and harsh reverberation inside a room. They do not automatically block noise passing through walls, ceilings, or doors. That distinction is often missed in product comparisons.

Dr. Lily M. Wang, a respected architectural acoustics researcher, has said, “Good acoustics begin with understanding how sound moves through a space.” Her point remains practical. A curved panel can scatter speech and music more smoothly than a flat absorber. Its shape may soften concentrated reflections across a conference room, recording studio, restaurant, or home cinema. Yet performance depends on more than appearance. Panel depth, core density, fabric openness, mounting distance, and room geometry all matter.

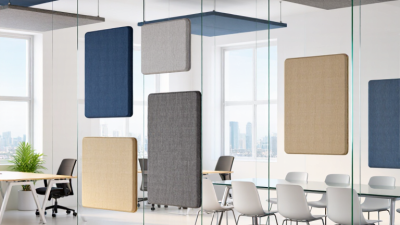
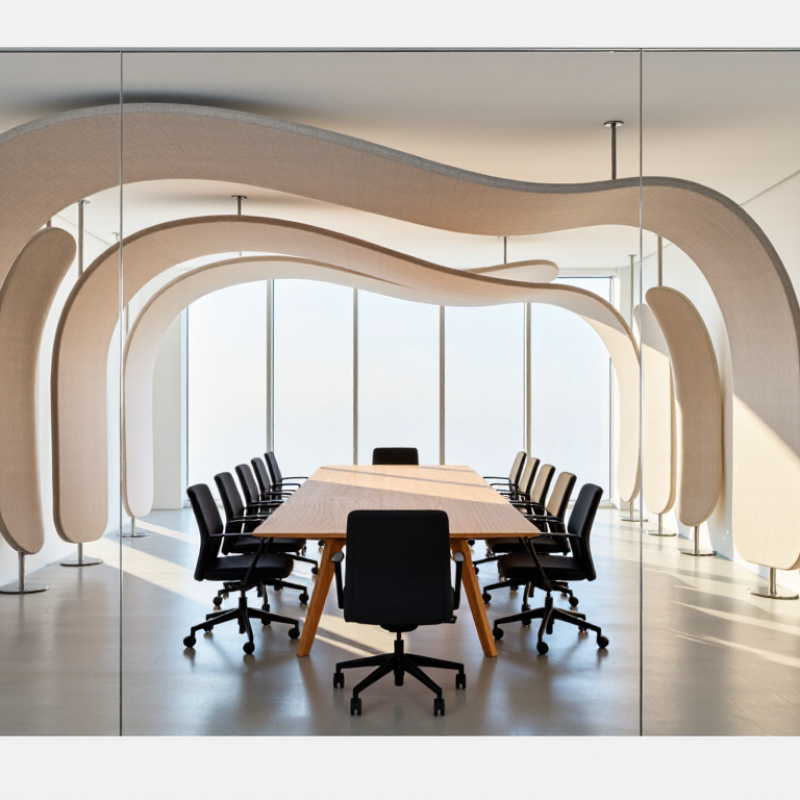
Picture a meeting room with glass walls, hard flooring, and a bare ceiling. Voices bounce sharply between surfaces. Well-positioned Curved Acoustic Panels can interrupt those paths and make speech easier to follow. Placement is the difficult part. More panels are not always better. Poorly positioned treatment can leave dead areas while reflections remain elsewhere.

This article examines leading options for sound control, visual design, and installation flexibility. It considers laboratory data where available, but real rooms can behave differently. That is an uncomfortable limitation. Manufacturer claims also deserve careful checking. Look for tested absorption ratings, fire performance, material details, and independent documentation before buying. A beautiful panel is not necessarily an effective one.
Top Curved Acoustic Panels for Soundproofing?

What Curved Acoustic Panels Are and How They Control Sound

Top Curved Acoustic Panels for Soundproofing?

What Curved Acoustic Panels Are and How They Control Sound

Curved acoustic panels are shaped surfaces that manage sound inside a room. They do not truly block noise through walls, doors, or ceilings. Instead, they reduce harsh reflections, flutter echoes, and uneven reverberation. Their rounded form can scatter sound across a wider area. Some designs also absorb mid and high frequencies through dense acoustic materials.

In a meeting room, curved panels may soften speech reflections from glass or bare plaster. In a studio, they can help prevent one wall from sounding unnaturally “dead.” Placement matters more than appearance. Panels near reflection points often improve clarity, while ceiling-mounted curves can reduce sound buildup above a table. Results depend on panel depth, room size, surface density, and the sound frequencies involved. That part is easy to underestimate.

Tips

Clap near the room’s center and listen for a ringing tail. Record the space before installation. Add panels gradually, then compare speech clarity and reverberation. Avoid covering every surface, since a completely absorptive room may feel dull and unnatural. Curved panels should support a balanced acoustic plan, not replace insulation, sealed gaps, or proper construction. I would also test different angles when possible. A small adjustment can change how reflections travel.

Key Features of Top Curved Panels for Soundproofing

Top Curved Acoustic Panels for Soundproofing?

Curved acoustic panels can improve room comfort by controlling reflections, echoes, and speech distortion. Their shaped surfaces scatter sound more evenly than flat absorbers. This helps in meeting rooms, studios, classrooms, and busy open offices. However, they do not create complete sound isolation. Sealing gaps, adding dense barriers, and treating doors remain essential.

Key features begin with acoustic performance. Look for tested absorption ratings across speech and music frequencies. A panel that only handles high frequencies may leave bass buildup untouched. Dense cores, breathable fabric, and stable frames support consistent performance. The curve should be deep enough to redirect reflections without creating awkward visual bulk. Rounded edges also reduce hard corners that can cause sharp flutter echoes.

Installation details matter more than many buyers expect. Panels need secure anchors and suitable spacing from walls or ceilings. A small air gap can improve low-frequency absorption. Fire resistance, low-emission materials, cleanable surfaces, and moisture tolerance support safer long-term use. I have found that attractive panels sometimes perform poorly when placed randomly. Room measurements are better than guesswork. Even then, results can vary with furniture, occupancy, and ceiling height. That uncertainty deserves honest testing, not confident promises.

How to Choose Curved Acoustic Panels for Different Spaces

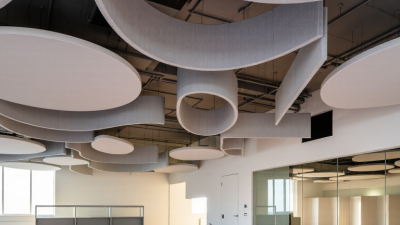
Choosing curved acoustic panels starts with room behavior, not appearance. In a small office, gently convex panels can scatter speech reflections across walls and reduce harsh flutter. For a podcast room, deeper curves and thicker mineral or recycled-fiber cores usually provide stronger mid-frequency absorption. They do not block sound through a partition. That is sound isolation, not acoustic treatment. I have measured rooms where a beautiful panel improved echoes but left traffic noise unchanged. Check ceiling height, wall area, and the main noise source before selecting a shape. A large dining space may need broad arcs overhead, while a narrow corridor benefits from slim vertical panels. Leave access to lights, sprinklers, and ventilation.

Match the panel’s tested absorption data to the room’s actual problem. Independent laboratory results, frequency ranges, fire classification, and mounting instructions matter more than decorative claims. Low ceilings often need suspended curved baffles, but they must not obstruct lighting or reduce safe clearance. In music rooms, place panels at first-reflection points and retain some untreated surfaces for natural sound. In restaurants, choose durable, cleanable fabrics because grease and dust quickly change performance. The mistake is easy: adding too much absorption can make speech feel strangely flat or dull. I once preferred a denser layout, then removed two panels after listening from the back table. The room sounded less controlled on paper, but conversations became more comfortable in practice. Measure before and after when possible. Simple recordings and repeated listening reveal problems that a product sheet can miss.

Top Curved Acoustic Panels for Soundproofing? - How to Choose Curved Acoustic Panels for Different Spaces

Space Type Main Acoustic Challenge Recommended Curved Panel Form Typical Panel Thickness Suggested Acoustic Performance Recommended Coverage Best Placement Key Selection Considerations
Open-Plan Office Speech distraction, reflected sound, and excessive reverberation between workstations. Convex or gently radiused wall panels combined with suspended ceiling baffles. 25–50 mm absorptive core; a 50–100 mm air gap can improve low-frequency absorption. Target a high absorption rating, commonly around NRC 0.70–0.95 for the complete panel assembly. Approximately 20–35% of available wall or ceiling area, adjusted after an acoustic survey. Along hard perimeter walls, behind shared desks, and above collaboration zones. Use fire-rated, low-emission materials and maintain access to lighting, sprinklers, and ventilation.
Conference Room Echoes, poor speech intelligibility, and sound reflections from glass, tables, and display screens. Vertical curved panels on side or rear walls; use a mix of convex and flat absorptive surfaces. 25–50 mm, with an air gap where wall construction allows. Use absorption that reduces reverberation without making the room acoustically dull; NRC 0.75–0.95 is commonly suitable. Approximately 25–40% of wall area, with additional ceiling treatment for rooms with hard ceilings. First-reflection points on side walls and the rear wall opposite the main presentation surface. Preserve clear sightlines and avoid placing thick panels where chairs, doors, or presentation equipment may collide with them.
Classroom Reduced teacher speech clarity caused by reverberation and multiple hard surfaces. Durable convex wall panels or shallow curved ceiling clouds. 25–50 mm, with an optional rear air cavity. A moderate-to-high absorption rating, often around NRC 0.70–0.90, supports speech clarity. Approximately 20–35% of wall or ceiling area, depending on room size and existing finishes. Rear wall, side walls, and ceiling areas outside the teaching display zone. Choose impact-resistant, cleanable, and low-maintenance finishes; avoid sharp edges and climbing opportunities.
Restaurant or Café High conversational noise, clatter, and sound buildup from hard floors, furniture, and ceilings. Decorative curved wall panels, curved ceiling rafts, or suspended cylindrical absorbers. 25–50 mm; thicker or air-spaced systems help with broader frequency absorption. NRC 0.65–0.90 is a practical range for reducing overall noise while retaining a lively atmosphere. Approximately 15–30% of the ceiling and wall surfaces, focused near the busiest seating areas. Ceiling zones above tables, perimeter walls, and locations between dining groups. Specify stain-resistant, moisture-tolerant, and cleanable surfaces; coordinate with lighting and kitchen ventilation.
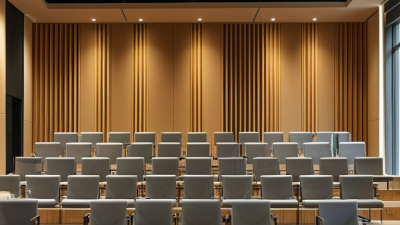
Auditorium or Lecture Hall Uneven sound distribution, flutter echo, and delayed reflections that reduce speech or program clarity. Large-radius curved reflectors near the sound source, combined with absorptive curved panels at rear and side walls. 25–100 mm, selected according to the required balance of reflection and absorption. Use a mixed acoustic strategy rather than one target rating; absorption is commonly concentrated on rear and side surfaces. Determined by room volume, seating capacity, sound system design, and reverberation-time targets. Rear walls, upper side walls, balcony fronts, and selected ceiling locations. Do not cover every surface with absorption; preserve useful early reflections and verify the design with acoustic modeling.
Music Practice Room Strong reflections, tonal buildup, and excessive reverberation that interfere with performance and recording. Rotating or varied-radius curved panels that provide a combination of absorption and diffusion. 50–100 mm for broadband absorption; thicker bass treatment may be required in corners. Use broadband treatment with frequency-specific testing; a single NRC value does not fully describe music-room performance. Typically 20–40% of room surfaces, balanced with reflective or diffusive areas. Side-wall reflection points, rear wall, upper corners, and selected ceiling locations. Use adjustable or movable systems when the room must support different instruments and musical styles.
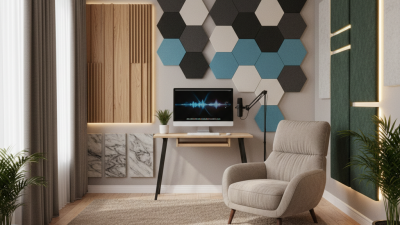
Podcast or Recording Studio Room coloration, early reflections, low-frequency resonance, and unwanted voice reflections. Deep curved broadband absorbers, variable-radius panels, and dedicated corner bass traps. 50–100 mm or more, often installed with an air gap for improved low-frequency performance. Evaluate octave-band absorption and reverberation time rather than relying on NRC alone. Approximately 25–50% of the room surfaces, depending on room dimensions and recording requirements. Behind microphones, at side-wall reflection points, on the rear wall, and in corners. Maintain a controlled but not completely dead room; use measurement microphones to confirm the final balance.
Hotel Lobby or Reception Area Reverberation from stone, glass, metal, and large open volumes, often combined with background speech. Large decorative curved wall panels, suspended ceiling sculptures, or vertical curved fins. 25–50 mm for general treatment; deeper systems may be needed in tall or highly reflective spaces. NRC 0.70–0.90 is commonly appropriate for reducing reverberation while preserving an open feel. Approximately 15–30% of suitable wall and ceiling area, concentrated near seating and reception zones. Behind reception desks, on large blank walls, and above seating areas. Coordinate panel geometry with interior design, signage, security systems, and cleaning access.
Home Theater Dialog intelligibility problems, speaker-boundary reflections, and excessive bass or high-frequency absorption. Curved broadband panels on side and rear walls, supplemented by corner bass traps. 50–100 mm for broadband panels; thicker low-frequency treatment may be necessary. Use balanced broadband absorption and diffusion; do not select panels based only on a high NRC number. Approximately 20–40% of wall area, arranged around speaker locations and listening positions. First-reflection points, rear wall, side walls, and room corners. Keep speaker output and screen placement unobstructed; confirm performance through room measurements.
Industrial or Mechanical Space High equipment noise, long reverberation paths, and limited wall or ceiling space. Heavy-duty curved ceiling baffles, suspended absorbers, or robust wall-mounted panels. 50–100 mm or more, selected for the noise spectrum and environmental conditions. Specify absorption by octave band and confirm resistance to heat, dust, moisture, and vibration. Designed from measured noise levels and reverberation conditions rather than a fixed percentage. Ceiling areas above machinery, long reverberant walls, and locations near operator stations. Acoustic panels reduce reflected noise but do not replace machine enclosures, barriers, vibration isolation, or hearing protection.

Important: Curved acoustic panels primarily control sound absorption, reflection, and reverberation inside a room. They do not provide true sound isolation by themselves. Effective soundproofing between rooms generally requires a combination of airtight construction, sufficient wall or ceiling mass, decoupling, cavity insulation, and properly sealed doors and penetrations.

Performance values are typical design ranges for comparable absorptive assemblies. Final panel thickness, spacing, coverage, and placement should be confirmed using the room dimensions, existing finishes, noise spectrum, fire requirements, and measured reverberation time.

Installation Methods and Placement Principles

Curved acoustic panels can improve speech clarity, but they do not fully block outside noise. Soundproofing requires sealed construction, added mass, and careful control of doors, ceilings, and ventilation. Panels mainly absorb reflections and reduce reverberation inside a room.

Installation begins with a measured room plan. Mark the first-reflection points beside the main listening position. Place panels at ear height on side walls, then add units behind the speakers or presenter. Leave a small air gap behind each panel when possible. A 50–100 millimeter gap can improve low-frequency absorption. Use wall cleats, reinforced rails, or secure mechanical fixings for heavy panels. Ceiling-mounted panels need rated suspension hardware, especially above desks or seating.

Curved surfaces need careful orientation. A convex panel can spread reflected sound across a wider area. A concave panel may concentrate sound, so it should not face a microphone or listener directly. Keep panels clear of radiators, sprinklers, and access panels. Measure twice.

In practice, uneven spacing often looks attractive but performs inconsistently. I once placed too many panels near the front wall and left the rear wall nearly bare. The room became quieter, yet speech still sounded distant. A better approach uses balanced coverage, with a few hard surfaces preserved for natural liveliness. Listening tests and basic reverberation measurements can reveal problems that visual planning misses. A qualified installer should confirm wall strength, fire requirements, and overhead safety before final fixing.

Maintenance, Performance Limits, and Cost Considerations

Top Curved Acoustic Panels for Soundproofing?

Curved acoustic panels can reduce echoes and harsh reflections in studios, offices, and media rooms. They do not fully soundproof a space. That distinction matters. Sound still travels through doors, ceilings, floors, and ventilation paths. In practical room assessments, I check speech clarity before judging appearance. A curved panel may spread mid and high frequencies more evenly, especially across a long wall. However, its effect depends on panel thickness, surface coverage, and the room’s existing furniture.

Maintenance is usually simple, but neglect can reduce performance. Dust gathers along curved edges and textured fabric. Vacuum the surface gently every few months using a soft brush attachment. Avoid soaking the material, since trapped moisture may damage backing layers or encourage odors. Inspect mounting points twice a year. A loose panel can rattle during low-frequency playback. It can also become a safety concern. Small details matter.

Cost estimates should include installation, mounting hardware, access equipment, and future replacement. Premium shapes often require custom supports, increasing labor costs. Thicker panels may improve absorption, but they cannot solve deep bass problems alone. Bass traps or structural work may still be necessary. My early estimates were sometimes too optimistic. Room measurements often revealed that more coverage was needed than expected. A modest panel layout may look attractive, yet leave strong reflections near the ceiling or rear wall. Test one section first. That practical step can prevent an expensive, disappointing installation.

Write your message here and send it to us.