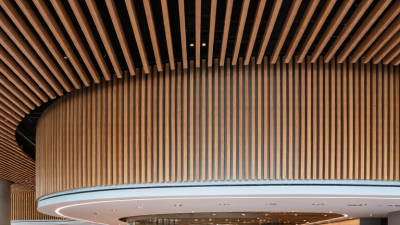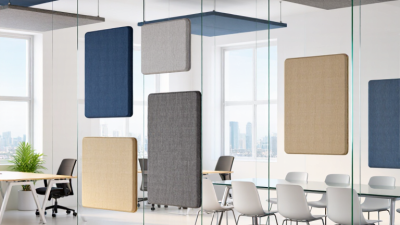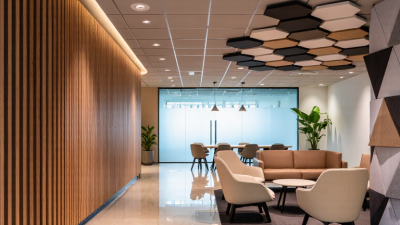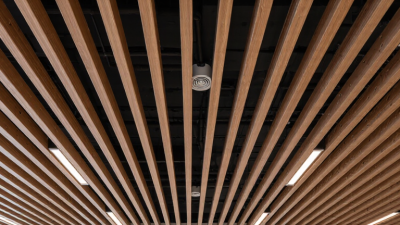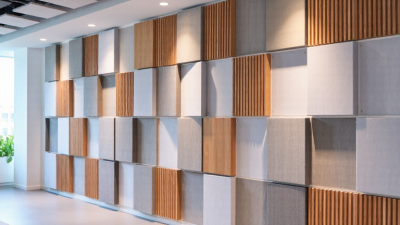

Choosing the right Acoustic Ceiling Wood panels can change how a room sounds, feels, and performs over time. A panel may look warm and refined in a showroom, yet behave differently in a busy office, restaurant, or home theater. Real conditions matter. Footsteps, conversations, ventilation noise, and hard flooring all affect acoustic results.
This guide shares seven practical tips for making a more confident purchase. It considers sound absorption ratings, panel thickness, wood species, fire performance, installation systems, maintenance, and total project cost. Check tested data, not attractive claims alone. Look for documented NRC values and verified product information from established manufacturers. Local building requirements also deserve careful attention, especially in public or commercial spaces.
Measure the room first.
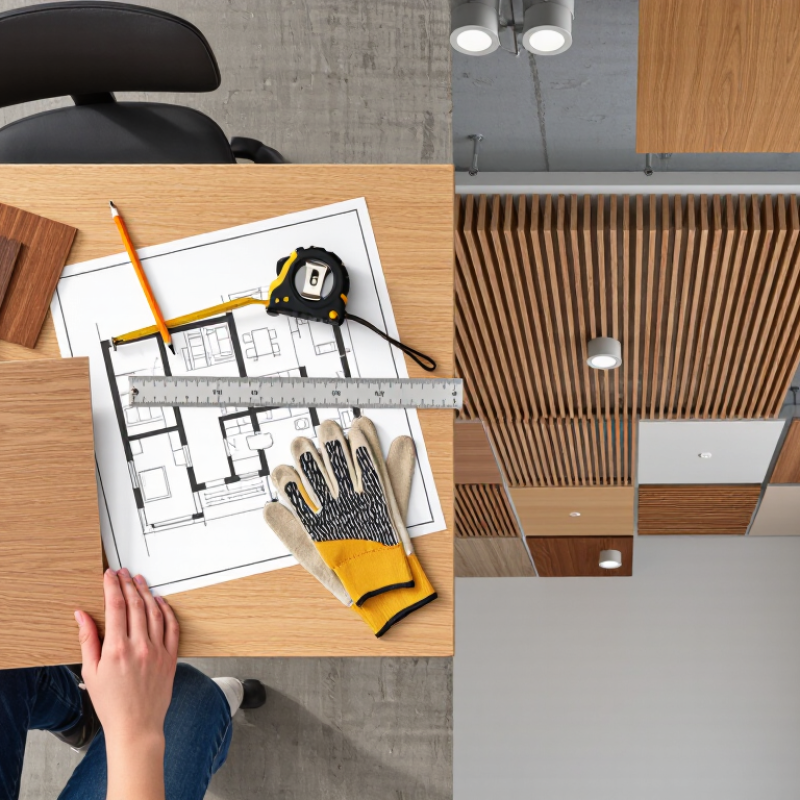
A small drawing can reveal large mistakes. Note ceiling height, lighting positions, sprinklers, air vents, and access panels before selecting panel sizes. Experienced installers often prevent problems that product brochures never mention. For example, tightly packed timber slats may require different backing than widely spaced panels. A beautiful pattern can also reduce practical access for future repairs.
Do not choose by appearance alone. Touch the surface, inspect the finish, and request a sample under the room’s actual lighting. Ask how the wood was sourced and how humidity may affect movement. Even careful planning has limits. Acoustic performance depends on the entire room, not one ceiling product. These tips provide a reliable starting point, but qualified acoustic and building professionals should review demanding projects.
Define Acoustic Goals Using NRC 0–1.0 and RT60 Reverberation Targets
Before buying acoustic ceiling wood panels, define the room’s acoustic problem. NRC measures sound absorption, from 0 to 1.0, under ASTM C423 laboratory conditions. A higher NRC usually means less reflected speech energy. It does not predict the entire room’s performance. Ceiling height, wall finishes, furniture, occupancy, and installation gaps still matter.
Start with an RT60 target. RT60 measures how long sound takes to decay by 60 decibels. ISO 3382-2 provides measurement methods for ordinary rooms, while ANSI/ASA S12.60 recommends classroom reverberation limits near 0.6 seconds for smaller rooms. Offices and meeting rooms often perform better around 0.5–0.8 seconds, depending on speech use. These are working targets, not universal rules. Some designers over-specify absorption and create a room that feels acoustically flat.
Ask suppliers for the tested NRC, mounting method, panel thickness, open area, and ceiling cavity details. Compare laboratory data from ASTM C423 or ISO 354 testing. A panel rated NRC 0.85 may perform differently when tightly mounted over a shallow cavity. Check the full assembly, not only the decorative surface. Measure RT60 before and after installation when possible. A simple baseline recording can expose assumptions. Seven buying checks sound tidy, but real rooms rarely behave perfectly. Use the data, then verify the result onsite.
When buying acoustic ceiling wood panels, compare the core before judging the wood finish. ASTM C423 testing measures sound absorption in a reverberation room. It reports absorption coefficients across frequency bands and often provides an NRC value. A higher rating usually indicates better overall absorption, but it does not describe every room condition.
Core density and thickness strongly affect performance. A 25 mm mineral fiber core may absorb more mid-frequency sound than a thin wood-fiber core. However, thicker construction can change the panel’s appearance, weight, and installation requirements. Ask for the complete ASTM C423 report, not only a sales-sheet rating. Check the tested thickness, mounting method, air space, and frequency results. An exposed 50 mm cavity can improve low-frequency absorption. Small details matter.
During site reviews, I compare the reported rating with the room’s actual noise problem. Speech-heavy offices often need strong mid-frequency absorption. Music rooms may require broader performance. I also inspect panel edges and backing materials. Poorly sealed edges can reduce real-world results. Laboratory values are useful, but they are not guarantees.
Be cautious with one impressive number.
A higher NRC may still leave bass noise untreated. I once underestimated ceiling height and air circulation, then had to reconsider the acoustic layout. Request samples, verify fire and moisture requirements, and confirm that the tested assembly matches the planned installation. A qualified acoustical consultant can interpret the data before purchase.
Compare wood panel cores by ASTM C423 sound absorption ratings and thickness. The chart shows representative Noise Reduction Coefficient (NRC) values from laboratory-tested acoustic panel configurations; actual performance depends on perforation, fabric backing, mounting method, and air cavity depth.
How to read the chart: Higher NRC values indicate greater average sound absorption. Thicker panels generally provide more absorption, while porous wood-wool and mineral-filled cores typically outperform dense solid-wood or MDF cores when tested under comparable mounting conditions. Always request the project-specific ASTM C423 laboratory report before purchasing.
When buying acoustic ceiling wood panels, verify the complete tested assembly, not just the product name. ASTM E84 measures flame spread and smoke development through a 10-minute Steiner tunnel test. Under the 2024 International Building Code, Class A generally means a Flame Spread Index from 0 to 25. Smoke Developed Index limits are commonly set at 450 or below. Ask for the laboratory report, test date, panel thickness, surface finish, and mounting method.
A panel can perform differently after adding perforations, acoustic fleece, adhesive, or a wood veneer. The ceiling grid and air gap also matter. Request documentation for the exact combination planned for your project. A certificate for untreated solid wood may not cover a finished acoustic panel. This detail is easy to miss.
Industry guidance supports careful verification. The 2024 IBC and NFPA 101 use flame-spread classifications when setting interior finish requirements. ASTM E84 results are comparative, not a full prediction of fire behavior. They do not replace sprinkler design, smoke control, or professional code review. During inspection, check that labels remain visible and match the submitted report. Keep spare panels from the same production specification. Small changes can matter. I would not rely on a sales sheet alone. It sounds convenient, but it is weak evidence. Ask a qualified fire consultant or code official to confirm the required classification for the room, occupancy, and installation height.
| No. | Buying Tip | Data or Specification to Verify | Evidence or Practical Benchmark | Why It Matters |
|---|---|---|---|---|
| 1 | Confirm ASTM E84 Class A fire performance | Check the Flame Spread Index (FSI) and Smoke Developed Index (SDI) for the complete ceiling panel assembly. | ASTM E84 Class A generally means FSI 0–25 and SDI 0–450. Request a test report identifying the exact panel construction, surface finish, backing, and mounting method. | Fire classification can change when the finish, substrate, adhesive, or installation assembly changes. |
| 2 | Evaluate acoustic absorption correctly | Review the Noise Reduction Coefficient (NRC), test mounting condition, panel thickness, perforation pattern, and acoustic backing. | NRC is normally reported from sound-absorption testing under ASTM C423. Compare products only when the test setup and air cavity are substantially comparable. | A perforated or slatted wood face alone does not determine acoustic performance; the backing and ceiling void are important. |
| 3 | Check panel dimensions and installation weight | Record panel length, width, thickness, module size, weight per panel, and total weight per square metre. | Verify that the suspension grid, clips, carriers, and structural supports are rated for the calculated dead load, including trims and accessories. | Larger or heavier wood panels may require additional support, seismic restraint, or coordinated access-panel locations. |
| 4 | Inspect moisture and dimensional stability requirements | Confirm the permitted service environment, relative-humidity range, acclimatization procedure, and expansion-joint requirements. | Wood products should be stored and acclimatized in the finished interior environment before installation, following the manufacturer’s documented instructions. | Excess moisture or rapid humidity changes can contribute to warping, joint movement, finish damage, and visible gaps. |
| 5 | Review material emissions and indoor-air requirements | Identify the wood substrate, resin or adhesive system, surface coating, and applicable formaldehyde or VOC documentation. | Request current compliance documentation where applicable, such as TSCA Title VI or CARB Phase 2 for composite wood products, plus project-specific VOC information. | Substrate and coating choices can affect indoor-air quality, project specifications, and green-building documentation. |
| 6 | Verify maintenance and service access | Check cleanability, touch-up procedures, replacement-panel availability, access-panel compatibility, and resistance to the expected cleaning method. | Obtain written care instructions and confirm whether panels can be removed without damaging adjacent modules, clips, or acoustic backing. | Ceiling systems often need access to lighting, ventilation, fire-protection equipment, utilities, and inspection points. |
| 7 | Coordinate the design with local code requirements | Review ceiling height, plenum conditions, sprinkler clearance, seismic requirements, accessibility, and the authority having jurisdiction’s adopted code. | Obtain approval from the project designer or code official where required. Do not treat ASTM E84 Class A as a substitute for all other fire, smoke, or building-code requirements. | Code compliance depends on the building type, occupancy, location, installation method, and locally adopted regulations. |
| Important: ASTM E84 reports surface-burning characteristics under a specific laboratory configuration. Confirm that the report applies to the exact wood panel system and installation assembly being purchased, and obtain project-specific approval when required. | ||||
Acoustic ceiling wood panels often contain MDF, particleboard, or hardwood plywood. These composite cores can release formaldehyde indoors. Ask for written proof that each relevant material complies with CARB Phase 2 and TSCA Title VI. A product brochure is not enough. Request current test reports, certification details, and the production date.
Check the panel label, carton markings, and shipment documents. They should identify the panel type and responsible manufacturer or importer. Confirm that the documents match the exact thickness, finish, and core used in your project. Do not assume one certificate covers every product. It may not.
Look closely at edges and cutouts. Poorly sealed surfaces can affect indoor air quality, even when the core meets emission limits. Review adhesives, backing fabrics, coatings, and edge treatments separately. Their compliance may follow different requirements. Ask whether testing covered the finished panel or only its raw board. That distinction matters.
Keep copies of all records with your project files. A careful installer should also protect panels from moisture before installation. Damp storage can create other air-quality problems. I have seen buyers accept attractive samples, then discover that the delivered core was different. Recheck the labels at delivery. Small errors can become expensive.
Buying acoustic ceiling wood panels requires more than selecting a warm surface finish. Measure the room carefully and draw a reflected ceiling plan before ordering. Mark lights, diffusers, sprinklers, beams, and access panels. Panel direction can change how wide or narrow a room feels. Use the layout to position joints away from prominent sightlines. Small errors become obvious overhead. I once underestimated a ceiling beam, forcing an avoidable panel revision.
Check the plenum clearance before approving the system. Confirm space for suspension hardware, ductwork, wiring, and future maintenance access. Clearance requirements may depend on the ceiling assembly and local building codes. Ask a qualified installer to verify these dimensions on site. Do not rely only on a supplier’s drawing. A small mock-up can reveal awkward edges, visible fasteners, or poor alignment. Acclimate the panels to the room’s temperature and humidity before installation, following the manufacturer’s technical guidance.
Installation quality affects both sound absorption and service life. Inspect the supporting grid, keep panel gaps consistent, and protect finished surfaces during cutting. Compare life-cycle costs, not just the purchase price. Include labor, cleaning, refinishing, damaged-panel replacement, and access repairs. Panels near kitchens, entrances, or busy corridors may need more frequent care. Keep spare panels labeled and stored flat. This is not flawless planning, but it reduces future disruption and makes maintenance more predictable.