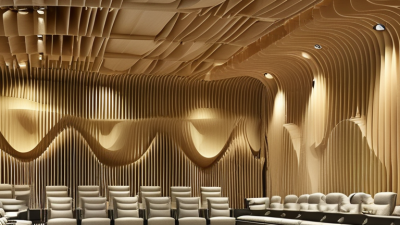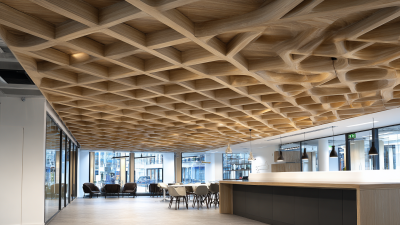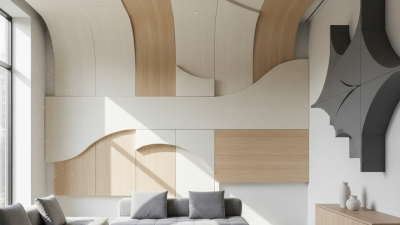

Choosing Curved Wooden Slats is not simply a matter of selecting the most attractive profile. The right choice must suit your project’s radius, environment, structure, and visual purpose. A ceiling feature may need flexible slats with consistent spacing. A furniture frame may require tighter curves, stronger grain direction, and carefully controlled thickness.
James Krenov, the respected cabinetmaker and woodworking educator, often repeated a practical principle: “The wood is the boss.” That advice remains valuable today. Timber reacts to moisture, temperature, cutting direction, and pressure. It can twist slightly after installation. It may also show unexpected color variation. These details are not always defects, but they should be considered before ordering materials.
Begin by measuring the curve precisely. A small radius can place significant stress on solid wood. Laminated slats may offer better stability in demanding shapes. Check the wood species, moisture content, surface finish, and fixing method. Touch the sample if possible. Look closely at the grain. A beautiful photograph cannot reveal every weakness.
Indoor and outdoor applications require different decisions. Kitchens, bathrooms, and covered terraces may expose slats to changing humidity. Protective coatings can help, but they cannot correct poor material selection. Spacing also matters. Narrow gaps create a denser visual rhythm, while wider gaps highlight shadows and airflow.
There is no perfect specification. Even experienced designers revise their choices after reviewing samples. This guide explains how to compare Curved Wooden Slats with greater confidence, while leaving room for practical judgment, honest testing, and the character of real wood.
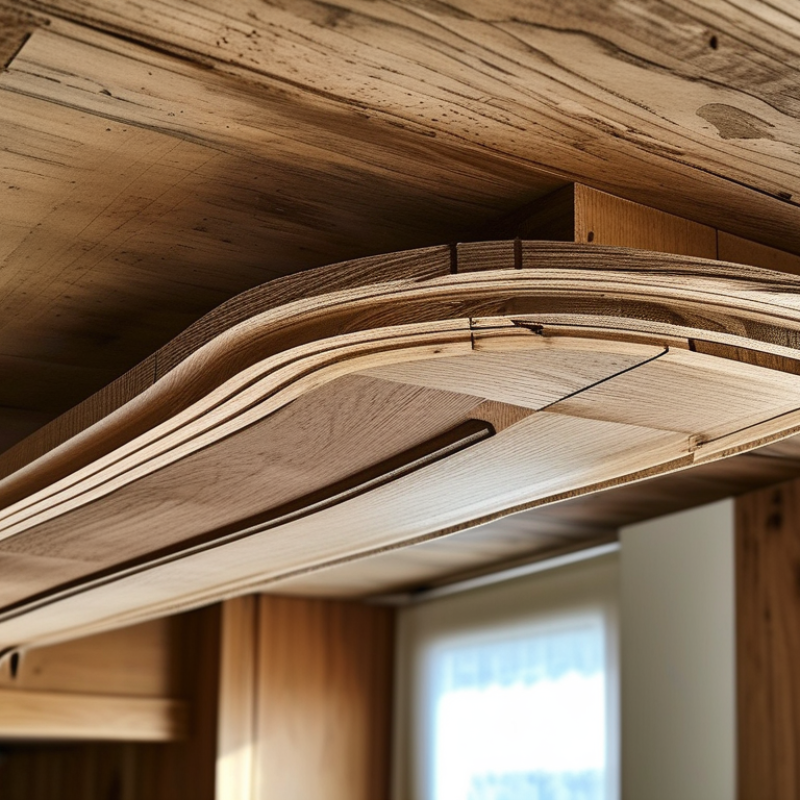
Classify the project by load before choosing a curved wooden slat. Decorative ceiling strips carry little weight, while screens, seats, and partitions may face repeated pressure. Load-bearing elements require verified calculations and professional structural review. Check span, fixing points, vibration, and the weight of attached materials. A slat can look strong but still split near a screw.
Location changes the material decision. Interior rooms usually demand stable moisture content and clean surface finishing. Bathrooms, covered terraces, and humid spaces need better moisture resistance and sealed end grain. Outdoor exposure adds sunlight, rain, temperature changes, and movement. Allow ventilation behind the slats. Trapped moisture often causes trouble. I have seen attractive samples fail because their installation conditions were ignored.
Required curvature is the third filter. Measure the exact radius, slat thickness, width, and visible face. Tight curves may need laminated sections, steam bending, or flexible kerf-cut designs. Each method has different strength and springback behavior. Make a small test piece first. It may reveal cracking, uneven gaps, or a radius that changes after fixing. Do not trust a drawing alone. Leave tolerance for sanding, finishing, and natural wood movement. Even careful estimates can be slightly wrong.
Choose thickness and width together, not by appearance alone. A thin, narrow slat bends easily but can feel fragile during installation. A thicker slat resists deflection, yet it needs a larger bend radius or controlled lamination. For rectangular sections, bending stiffness rises roughly with the cube of thickness. A small thickness change matters. My first mock-up was too optimistic.
Grain direction is equally important. Keep the grain running continuously along the curve whenever possible. Avoid visible runout, knots, and short grain near tight bends. The USDA Forest Products Laboratory’s Wood Handbook, FPL-GTR-282, reports typical wood shrinkage of about 6–12% tangentially and 3–6% radially from green to oven-dry conditions. That difference can open joints or distort repeated slats. Quarter-sawn stock usually offers better dimensional control. Still, species and moisture history can change the result.
Match the bend radius to the slat thickness, species, and bending method. A 10-millimeter slat on a 200-millimeter former creates a 20:1 radius-to-thickness ratio. It may succeed in one species and split in another. Steam bending, kerf cutting, and laminated veneers require different limits. Make a full-size sample first. Check springback after 24 hours, then again after installation. Interior wood commonly reaches roughly 6–8% equilibrium moisture content, according to the same USDA handbook. Design for that condition, not the workshop’s temporary humidity. Measure twice. Test once. Then question the result.
| Project Application | Recommended Slat Thickness | Recommended Slat Width | Grain Direction | Typical Inside Bend Radius | Suitable Construction | Design and Production Notes |
|---|---|---|---|---|---|---|
| Decorative wall or ceiling feature | 6–12 mm | 20–45 mm | Long grain running parallel to the slat length | 300–600 mm | Thin solid wood, kerf-cut stock, or laminated veneer strips | Thin slats follow broad curves efficiently. Use a consistent gap to create a uniform visual rhythm. |
| Curved room divider or privacy screen | 12–20 mm | 30–60 mm | Long grain parallel to the curve direction; avoid short-grain sections | 450–900 mm | Laminated strips or carefully selected solid wood | Choose a thicker section when the slat is freestanding or exposed to handling. Add concealed top and bottom supports. |
| Curved cabinet door or furniture panel | 8–16 mm | 25–55 mm | Continuous face grain for appearance; balanced layers for stability | 250–600 mm | Flexible plywood, bent laminations, or veneer-faced laminations | Balanced construction helps reduce cupping and spring-back. Confirm hinge, edge-band, and hardware clearances before fabrication. |
| Rounded column wrap or curved wall cladding | 8–15 mm | 25–50 mm | Grain parallel to the vertical or principal sightline | 150–400 mm | Kerf-backed panels, thin laminations, or segmented slats | For tight columns, narrow slats or segmented construction usually conform better than wide solid slats. |
| Acoustic baffle or suspended ceiling slat | 12–25 mm | 30–75 mm | Long grain parallel to the slat; consistent face orientation for visual continuity | 600–1,200 mm | Solid wood or laminated wood with engineered mounting points | Allow space for suspension hardware and acoustic backing. Heavier sections require stronger supports and careful load checks. |
| Handrail or continuous curved trim | 25–45 mm | 45–75 mm | Long grain follows the handrail length; avoid knots near joints | 600–1,500 mm | Bent laminations are preferred for continuous curves | Use multiple thin laminations rather than forcing one thick board around a tight radius. Sand and finish all touch surfaces carefully. |
| Small-radius display or product fixture | 4–8 mm | 15–35 mm | Long grain parallel to the slat; straight grain is strongly preferred | 100–250 mm | Thin bent laminations, veneer, or kerf-cut material | Tight curves increase the risk of splitting and spring-back. Use a former, gradual clamping pressure, and prototype the radius first. |
| Selection rule: A smaller bend radius generally requires a thinner slat, narrower width, straighter grain, and laminated or kerf-cut construction. The ranges above are practical planning guidelines rather than universal limits. Actual performance depends on wood species, moisture content, grain defects, bending method, adhesive system, and whether the radius is measured on the inside or centerline of the curve. Always test a sample at the intended radius before final production. | ||||||
Curved wooden slats need more than an attractive shape. Their moisture content can affect fit, stability, and long-term appearance. Follow NWFA installation guidance by specifying 6–9% moisture content for interior wood flooring applications. Measure each batch with a calibrated moisture meter, not by touch. Wood can feel dry while holding uneven moisture inside.
Check the slats, subfloor, and room conditions before installation. Record readings from several boards, especially near ends and curved sections. A difference of only a few percentage points may create gaps, swelling, or visible movement. Allow the slats to acclimate in the installation space until readings become consistent. This step takes patience. Sometimes, my first inspection looks acceptable, but a second reading reveals changes after overnight storage.
Tips: Ask for moisture records and confirm the measuring method. Select slats with similar grain direction and matching curvature. Inspect the inner bend for compression marks, hairline cracks, or rough machining. Keep the room near its normal living conditions during acclimation. Do not force a slat into position. If readings remain outside 6–9%, pause the installation and investigate humidity, subfloor moisture, or storage conditions. A small sample test can also expose problems before the full layout is committed.
Slat gaps affect airflow, privacy, light, and timber movement. A practical starting range is 10–20 mm. Measure the clear gap, not the spacing from center to center.
If a slat face is 20 mm wide, a 10 mm gap creates about 33% open area. A 20 mm gap creates about 50%. Curved profiles can reduce the effective opening, especially when viewed from an angle. Make a small sample first.
ASHRAE Standard 62.1-2022 provides ventilation guidance for occupied spaces, but it does not approve decorative slats as ventilation systems. For example, its office ventilation method includes outdoor-air rates near 5 cubic feet per minute per person and 0.06 cubic feet per minute per square foot. Slatted screens may support air movement, but mechanical design still matters. Do not use a visual percentage as proof of compliant ventilation.
Wood also responds to humidity. The USDA Forest Products Laboratory’s Wood Handbook, FPL-GTR-282, explains that wood is hygroscopic and changes dimension as moisture changes. Leave more tolerance near corners, fasteners, and curved transitions. I would test the planned gap through one humidity cycle.
My first layout is rarely perfect. A 10 mm gap may look elegant, yet swell into a tight joint in a damp room. In dry interiors, 15–20 mm can provide safer movement clearance. Check projected width, grain direction, finishing thickness, and actual site humidity before ordering.
Choosing curved wooden slats requires more than checking grain, thickness, and bending radius. Compliance documents matter, especially when slats enter commercial interiors.
ASTM E84 evaluates surface flame spread and smoke development under controlled conditions. It does not certify an entire wall or ceiling assembly. Ask for the complete test report, including the tested substrate, adhesive, coating, and installation method. A decorative veneer may perform differently after bending. That detail is often overlooked.
TSCA Title VI covers formaldehyde emissions from hardwood plywood, medium-density fiberboard, and particleboard used in composite wood products. Request the supplier’s compliance statement, panel certification, product label, and production records. EPA implementation materials emphasize documentation and emission limits, not vague claims such as “low odor.” Small mistakes happen here. A certificate may describe the core panel, not the finished curved slat.
FSC Chain-of-Custody documentation addresses material traceability, from certified forest sources through manufacturing and delivery. FSC’s 2024 Facts and Figures report more than 160 million hectares of certified forest worldwide. Verify the certificate scope and transaction documents for the exact product. Do not treat FSC certification as proof of fire performance or formaldehyde compliance. In project reviews, I would also compare batch numbers, adhesive specifications, and delivery labels. One missing record can weaken an otherwise credible compliance package.
Verify ASTM E84, TSCA Title VI, and FSC Chain-of-Custody Compliance
TSCA Title VI emission limits shown in parts per million (ppm): hardwood plywood 0.05, particleboard 0.09, MDF 0.11, and thin MDF 0.13. Confirm the applicable requirements for your project and jurisdiction.