2026 How to Install a Seamless Acoustic Ceiling for Optimal Sound Control?
Installing a Seamless Acoustic Ceiling can transform any space into a sound-controlled environment. This type of ceiling not only enhances the aesthetics but also improves acoustic performance. Proper installation is crucial to achieving optimal results.
When beginning this project, it's important to understand the materials and techniques involved. A seamless look makes the ceiling appear modern and clean. Yet, achieving this requires attention to detail and proficiency in design principles. Many may underestimate the complexity of installation.
Consider factors like room size and existing features. Acoustical treatments can vary widely. Each space may present unique challenges. For instance, irregular room shapes can complicate the process. Be prepared for trial and error. The end goal is to create a harmonious atmosphere where sound is evenly distributed. A well-installed Seamless Acoustic Ceiling can significantly enhance both functionality and comfort.
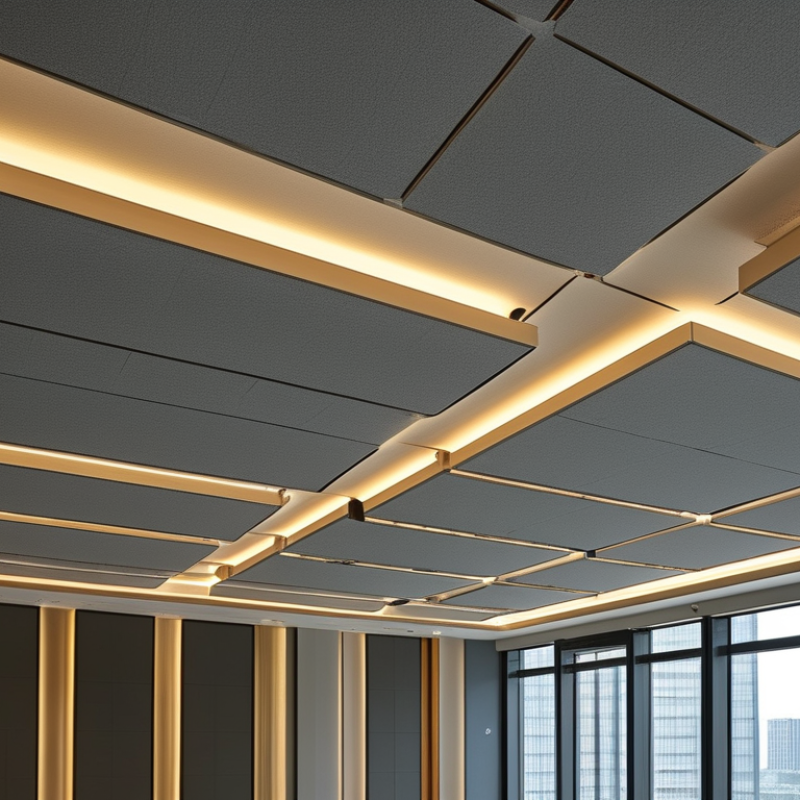
Understanding Seamless Acoustic Ceilings and Their Benefits
Seamless acoustic ceilings are designed to enhance sound control in various environments. They act as sound barriers, absorbing noise and reducing echoes. This is particularly beneficial in places like offices, studios, and theaters. The absence of seams means fewer gaps for sound to escape, leading to a more peaceful atmosphere.
These ceilings contribute to overall aesthetics while improving acoustics. They can be made from materials that complement the existing decor, creating a visually appealing space. However, installation requires careful planning and knowledge about proper acoustical properties. It's crucial to consult professionals to avoid potential misalignment or inefficiencies.
One common consideration is the balance between sound absorption and reflection. Too much absorption can lead to a dull acoustic quality. It’s essential to evaluate the space's unique needs. This involves understanding how sound travels within the environment. With this knowledge, one can make informed choices about materials and designs.
Essential Tools and Materials Needed for Installation
When installing a seamless acoustic ceiling, having the right tools and materials is crucial. Start with your basic tools: a power drill, screw gun, and level. These tools will help ensure accurate placement and secure attachment. You’ll also need a utility knife, measuring tape, and a chalk line for precise measurements. Safety equipment, like gloves and goggles, cannot be overlooked.
Materials play a key role in achieving optimal sound control. Acoustic ceiling panels should be high-quality and resilient. Consider options that offer sound-absorbing properties for better results. You’ll need suspension systems, including ceiling grid and hangers, to create a supportive structure. Remember to keep in mind the dimensions of your space to avoid unnecessary waste.
Installation can be challenging. Sometimes, the grid alignment may not be perfect. It's important to double-check measurements. Mistakes can lead to gaps that affect acoustics. Installing in a room with irregular shapes may require creative solutions. Embrace those challenges; they can lead to learning and improvement. With the right tools and patience, a seamless acoustic ceiling is achievable.
Step-by-Step Installation Process for Seamless Acoustic Ceilings
Installing a seamless acoustic ceiling can significantly enhance sound control in various environments. This process requires careful planning and precision. First, measure your ceiling area accurately to determine the amount of acoustic material you'll need. Industry reports indicate that effectively installed acoustic ceilings can improve sound quality by up to 70%.
Begin by selecting the right insulation and acoustic tiles that match your space's design and sound needs. Use a level to ensure a flat surface. Many professionals suggest utilizing sound-absorbing panels for optimal results. When fastening the panels, ensure they are tightly joined to improve performance.
Tips: Make sure to wear safety goggles during installation. It’s easy to overlook safety when focused on the task. Remember, imperfect joints may lead to sound leakage. Don’t hesitate to double-check measurements before cutting materials. This small oversight can affect the final acoustic quality, leading to potential frustration. Seek expert advice if unsure about specific acoustical properties. Your effort will pay off with a quieter, more enjoyable environment.
2026 How to Install a Seamless Acoustic Ceiling for Optimal Sound Control?
| Step Number |
Action |
Tools Needed |
Estimated Time |
| 1 |
Measure the Ceiling Area |
Tape Measure, Pencil |
30 minutes |
| 2 |
Select Acoustic Ceiling Panels |
None |
1 hour |
| 3 |
Install Furring Strips |
Drill, Furring Strips |
2 hours |
| 4 |
Lay Acoustic Panels |
Lifter, Level |
3 hours |
| 5 |
Seal Edges and Joints |
Acoustic Sealant |
1 hour |
| 6 |
Final Inspection |
None |
30 minutes |
Tips for Achieving Optimal Sound Control with Acoustic Ceilings
Acoustic ceilings play a crucial role in sound control for various environments. Achieving optimal sound management requires understanding the acoustic properties of materials. Use sound-absorbing tiles to minimize echo and improve clarity. Proper installation is key to ensuring these materials perform effectively. Consider room size, shape, and furnishings as they impact sound dynamics.
Placement matters as well. Install panels strategically to maximize coverage. Avoid leaving gaps that can negate sound absorption. Regularly check for wear or damage. This might not be obvious, but it can significantly impact performance. Reassess the setup periodically, especially in high-traffic areas, which can deteriorate sound quality.
Lastly, stay informed about acoustic principles. Knowledge of sound waves and how they interact with spaces helps in making better choices. Experimenting with different configurations can lead to surprising improvements. The journey of optimizing sound control is ongoing and may require adjustments over time. Trust the process and be open to learning from challenges encountered along the way.
Maintaining and Caring for Your Seamless Acoustic Ceiling
Taking care of your seamless acoustic ceiling is crucial for maintaining sound control. Regular inspection is key to ensuring its longevity. Look for any signs of wear or damage. Moisture can be a hidden enemy. If you notice any leaks or humidity, address them immediately. This will prevent mold growth and preserve your ceiling's integrity.
Cleaning is straightforward but vital. A gentle vacuum can remove dust and debris without damaging the surface. For deeper cleaning, use a damp cloth and mild detergent, ensuring excess moisture is avoided. Harsh chemicals can degrade materials over time. You might encounter stubborn stains. It’s important to test cleaning agents on a small area first. This will help avoid unexpected damage.
Once in a while, reevaluating the ceiling's performance is necessary. This reflection can reveal insights into how sound control is functioning. If the acoustic properties start to diminish, consider professional assessment. Sometimes, simple fixes can improve performance significantly. Adjustments may enhance how the space sounds. Always maintain a clear line of communication with your maintenance team. Transparency about issues ensures quick resolutions.