2026 How to Install Wood Panel Wall Cladding for a Stunning Home Transformation?
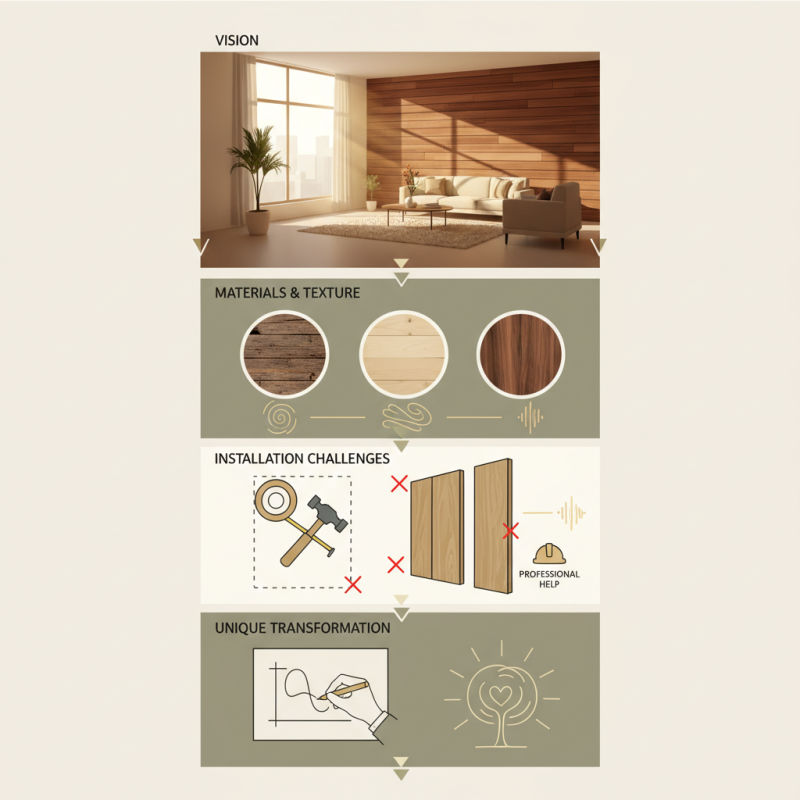
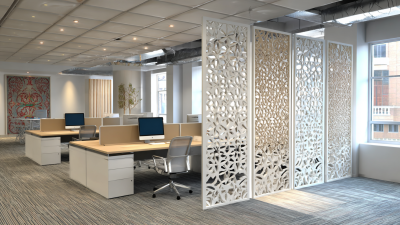
Transforming your home with Wood Panel Wall Cladding can be a game-changer. Expert designer John Miller emphasizes, "Wood Panel Wall Cladding brings warmth and character to any space." As you consider this stylish upgrade, think about the materials and textures available. Selecting the right wood can enhance the overall look.
Wood Panel Wall Cladding not only adds visual appeal but also improves insulation. However, installation can be tricky and may require professional help. Mistakes in measurements or alignment can lead to less-than-perfect results.
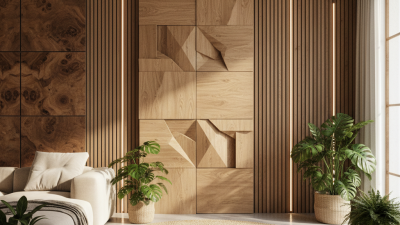
Visualizing the final look is essential. Imagine how the wood interacts with your existing decor and natural light. This project can become daunting with all the options available. Reflect on your choices, and don’t rush the process. Embracing the imperfections in your design journey can lead to a truly unique transformation.
Choosing the Right Wood Panels for Cladding Your Home
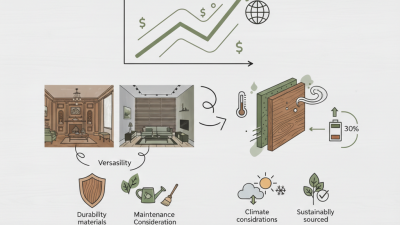
Choosing the right wood panels for cladding your home can greatly impact its aesthetic and energy efficiency. According to a report by the National Hardwood Lumber Association, wood paneling can enhance thermal insulation by up to 20%. This means your home could stay warmer in winter and cooler in summer.
When selecting wood panels, consider the type of wood. Teak and cedar offer natural resistance to moisture, making them ideal for humid climates. Pine, while often less expensive, needs more maintenance and can warp over time. A study by the Forest Products Laboratory reveals that about 30% of homeowners regretted their wood choice within five years due to issues like fading or damage.
You should also pay attention to the finishing process. A well-sealed panel can last a decade or more. However, many overlook this part. Panels left untreated often show signs of wear within a few years. Furthermore, the installation method can affect the longevity of the cladding. Nail-down and tongue-and-groove methods are popular choices. Yet, they may not suit all wood types. Understanding these details is crucial for achieving a stunning transformation for your home.
2026 How to Install Wood Panel Wall Cladding for a Stunning Home Transformation? - Choosing the Right Wood Panels for Cladding Your Home
| Wood Type |
Durability (Years) |
Maintenance Level |
Visual Aesthetic |
Cost per Square Foot (USD) |
Best Application |
| Cedar |
20-30 |
Low |
Warm reddish-brown, natural grain |
$6 - $9 |
Outdoor & Indoor accent walls |
| Redwood |
25-35 |
Medium |
Rich red tones, fine texture |
$8 - $12 |
Exterior cladding |
| Teak |
40-50 |
Low |
Golden brown, oily texture |
$15 - $20 |
Premium outdoor cladding |
| Pine |
10-15 |
High |
Light creamy color, visible knots |
$3 - $6 |
Interior walls and ceilings |
| Oak |
30-40 |
Medium |
Light to medium brown, pronounced grain |
$7 - $10 |
Indoor accent walls & cabinetry |
Preparing the Wall Surface for Wood Panel Installation
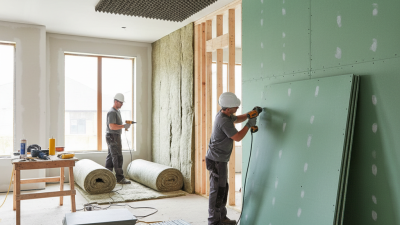
Preparing the wall surface is crucial for a successful wood panel installation. Start by clearing the area. Remove any furniture or obstacles. This ensures you have ample working space. Next, inspect the wall for any damage. Look for cracks, holes, or uneven surfaces.
Fixing these issues beforehand is essential. Use a patching compound for small holes. Sand the area smooth once it dries.
Cleaning is another important step. Dust and debris can affect adhesion. Wipe the surface with a damp cloth. Ensure the wall is completely dry before proceeding. Sometimes, older walls may have residues from previous installations. If so, washing the surface thoroughly is recommended. This helps the wood panels to adhere properly.
Lastly, consider using a level to check the wall's flatness. Walls that aren't even can lead to an uneven installation. Measure and mark where the panels will go. Double-check your measurements. It’s easy to make mistakes here.
A little patience goes a long way. After these preparations, you’ll be ready for a stunning transformation with wood paneling.
Step-by-Step Installation Process for Wood Panel Cladding
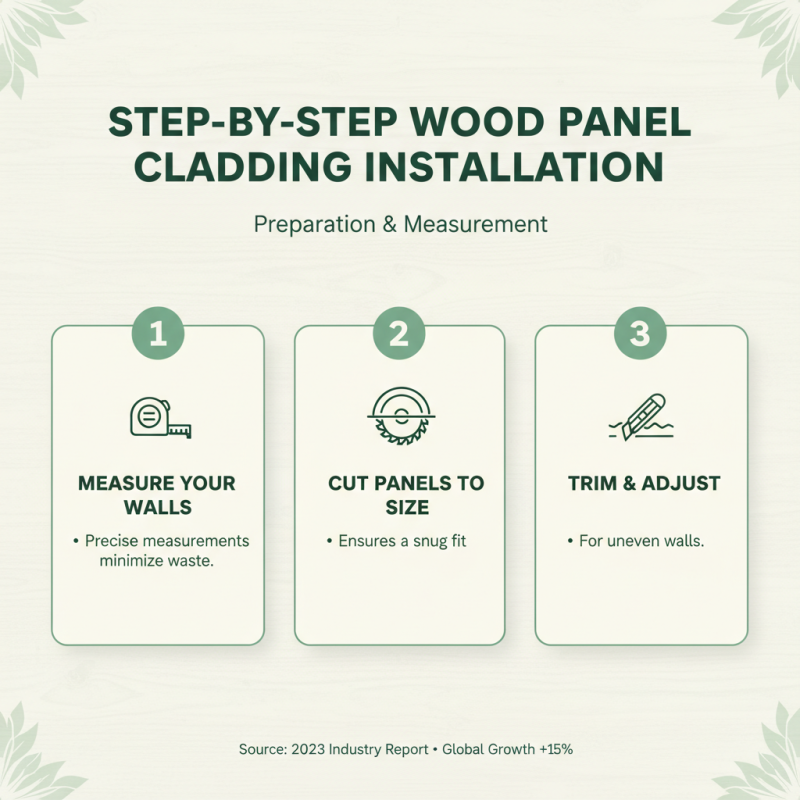
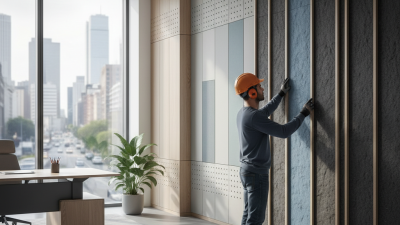
Wood panel wall cladding brings warmth and texture to any home. According to a 2023 industry report, wood cladding installations grew by 15% globally due to its sustainability and aesthetic appeal. The process starts by measuring your wall precisely to minimize material waste. Cutting panels to size ensures a snug fit, but uneven walls may require extra trimming and adjustment.
Preparation is crucial. Clean the wall surface thoroughly and install a moisture barrier to protect the wood. Use galvanized nails or screws to fasten panels securely, avoiding gaps. Panels should be aligned carefully to keep a consistent pattern, though minor misalignments can occur, affecting the final look.
Ventilation behind the cladding is often overlooked but essential to prevent mold. Leave a small air gap using battens to improve air circulation. Despite thorough work, small imperfections are normal and can add character to your space. Many homeowners underestimate the time needed, so plan for extra hours to handle unexpected issues.
Finishing Touches: Sealing and Treating Wood Panels
Sealing and treating wood panels is crucial for longevity. Without proper treatment, wood can warp or discolor over time. Start by thoroughly cleaning the panels. Dust and dirt can interfere with any sealant or finish. Use a soft cloth or vacuum to remove debris.
Next, choose an appropriate sealant. A clear polyurethane is a common choice. It protects against moisture and enhances the wood's natural beauty. Apply it evenly with a brush. Thin coats work best. Remember, too much can lead to a sticky mess. Allow drying time between coats.
Always read the instructions. Mistakes can lead to an uneven finish. If you encounter bubbles, sanding the area lightly can help. After sealing, consider adding a stain. It deepens the color while still preserving the wood's texture. Test any stain on a small area before applying it universally; it can turn out differently than expected. Careful preparation ensures your wood paneling looks stunning and lasts longer.
2026 Wood Panel Wall Cladding Installation Overview
Maintenance Tips for Long-lasting Wood Panel Walls
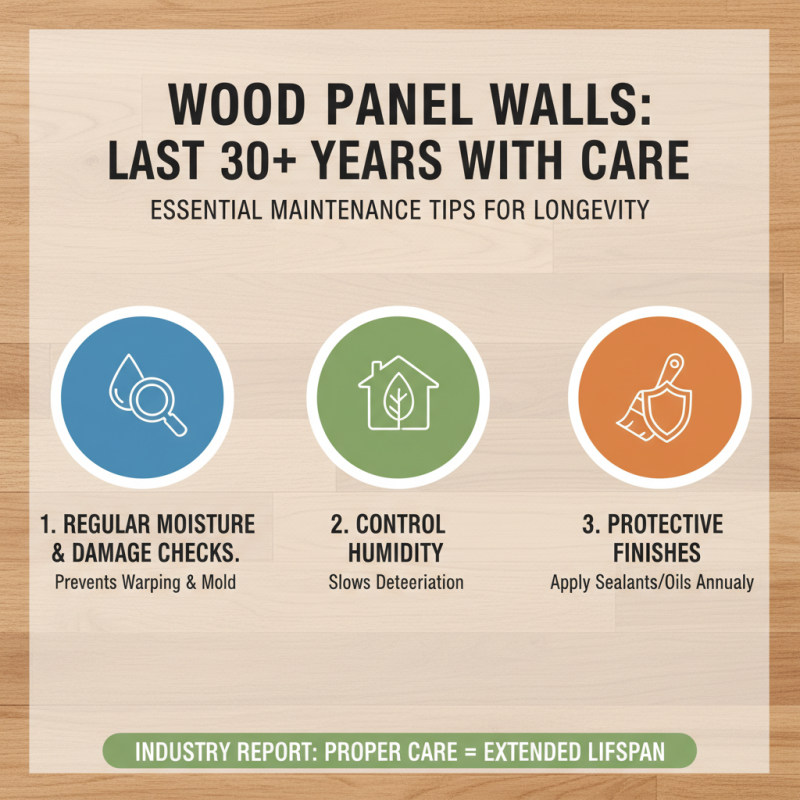
When considering wood panel walls, maintenance is critical for longevity. According to industry reports, wooden surfaces can last up to 30 years with proper care. First, regularly check for moisture or damage. Wood can warp or develop mold without prompt attention. A humid environment can accelerate deterioration.
Dusting surfaces weekly removes dirt and prevents buildup. This simple act can preserve the finish. Use a soft cloth instead of abrasive materials. For additional protection, applying a sealant every few years is advisable. This creates a barrier against moisture and UV rays.
If a panel becomes scratched or faded, address it immediately. Repairing or replacing damaged sections can enhance the overall appearance. Ignoring minor issues can lead to more extensive problems down the line. In fact, untreated issues can cut the lifespan of wood panels significantly, sometimes by 50%. Be proactive in your maintenance efforts to ensure the beauty of your wood panel walls remains intact.